Start with the version your audience will hear. For a finished video, open its full soundtrack, including any silence before the first speaker. For an audio-only episode, open a copy of the MP3 you plan to publish. Listen to a quiet sentence and note when one distinctive word begins. You will use that word to check the edit.
Try noise reduction on one quiet sentence
Listen for words that disappear under a fan or steady room noise. In the waveform, select one affected sentence and a little room sound on either side. Open Effects and choose Noise Reduction (Voice). Listen again, especially to soft endings like the final s in “six guests.” Use Edit > Undo to compare the original at the same volume.
If the line is easier to understand, apply one pass to the affected dialogue in your working copy. If the endings sound watery or a syllable disappears, keep the original there. Room sound between words can stay when the words themselves are clear.
For an existing video, preserve the pauses
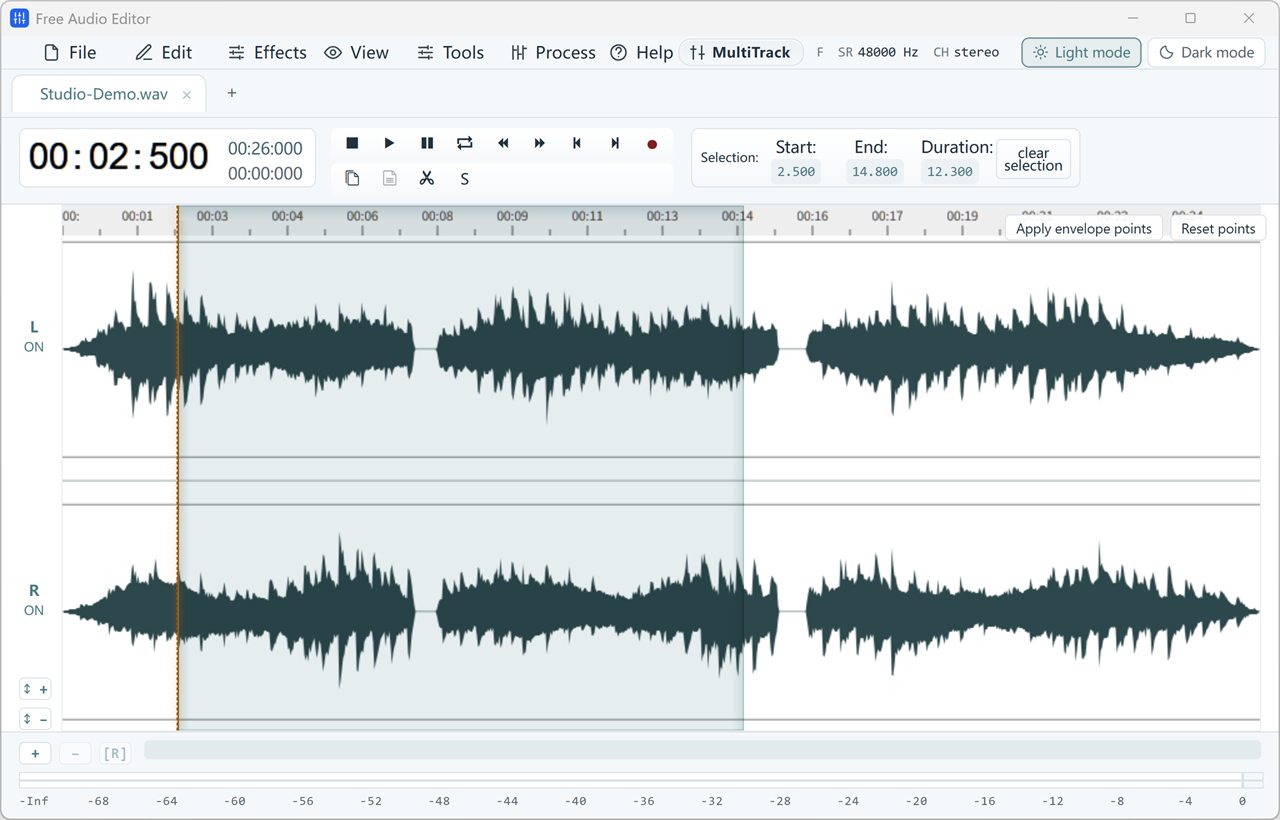
Suppose the presenter is silent from 00:18.000 to 00:21.000 while a diagram is on screen. The word “chapter” begins at 00:42.400. Keep all three seconds of that pause when cleaning the soundtrack. A two-second cut there would move “chapter” to 00:40.400 in the audio while the presenter still says it at 00:42.400 on screen.
Export the full timeline, including the opening silence. In the video project, line the export up with the beginning of the original soundtrack and check “chapter” against the picture.
For an audio-only episode, edit the pauses before captioning
In the same example, you can keep a one-second pause by selecting just 00:18.500 to 00:20.500 and choosing Edit > Cut. Play across the join to hear whether the speaker has time to breathe. With those two seconds removed, “chapter” should now begin at 00:40.400.
Finish any other cuts, then save the version listeners will receive. Use that exact file for captioning, even if you already made a transcript of the uncut recording.
Check the first and last cues against the final file
Open the finished audio or video in your captioning tool and generate the captions there. Play the first spoken line, your reference word, and a line near the end. If all three captions arrive equally early, check for missing silence at the start. If only the later cues are early, listen around the first pause you shortened and check which file you sent for captioning. Read back names and numbers as you listen.