Table of Contents
Introduction
What would you do if you want to watch your favorite movie with your portable video player? Or have you ever met this occasion that you tried to upload your newly created video to MySpace, but failed because of the unsupported format? Easy Video Switch enables you to solve these problems quite easily with a few mouse clicks.
Step 1. Input Video Files
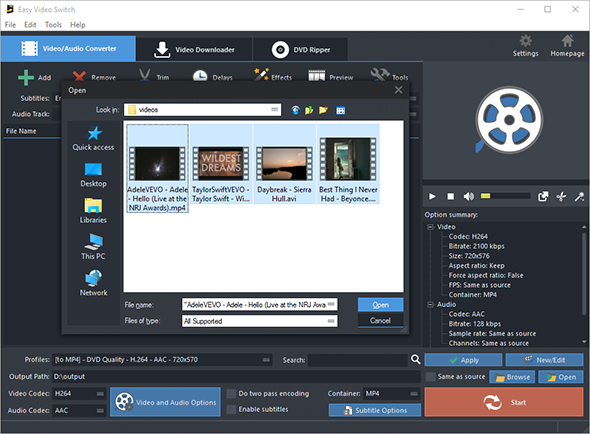
Click “Add” and 3 ways can be applied to add video file: “Add Files” is for one or more video files; “Add Folder” is for the folder containing video files; “Add Folder Tree” is for the folder along with its subfolders. To delete them from the list by “Remove”/”Clear”.
Tips: All the files will be listed in order of input by default. If you need to arrange the files in order, just use the “Up” & “Down” buttons to move it up and down in the list.

Step 2. Set Output Format & Quality
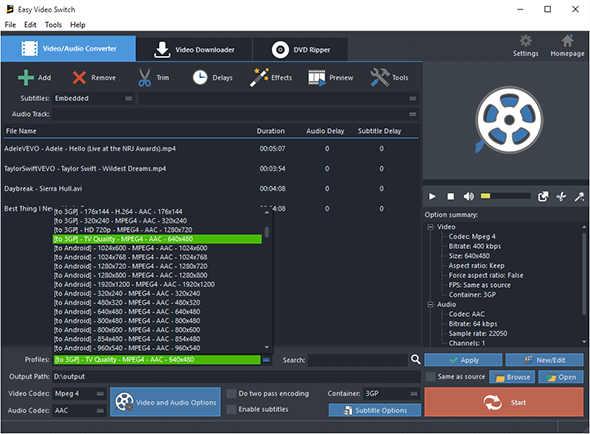
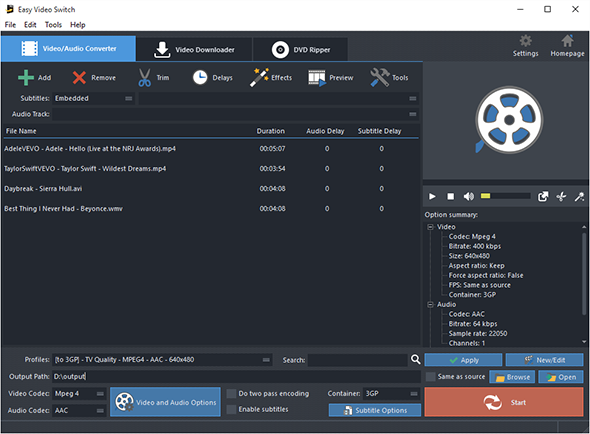
In “Profiles” menu, select the device you want to play the video on and you can see the details of the profile you select in the “Option Summary” panel at the right. If you know exactly the format your device supports, you can directly choose the output format in “Container” menu. To edit the parameters of the profiles, click “New/Edit” and change the settings in the “Profile Editor” Window. You are allowed to choose the video and audio codec as well as the encoder to use. To change the codec settings, click “Video and Audio Options” and set the options as you want. Choose output path by “Browse”.

Step 3. Start Conversion
When all settings done, click “Start” to start video conversion.

More Tools

To download videos from 300+ video sharing wesites, click “Video Downloader” tab.
You are also allowed to trim the video by “Trim” and to apply effects and add delays, click “Effects” and “Delays”.
It also allows you to rip DVD-Video. Just insert you video DVD or Blu-ray disc and click “DVD Ripper” tab to use the ripper.
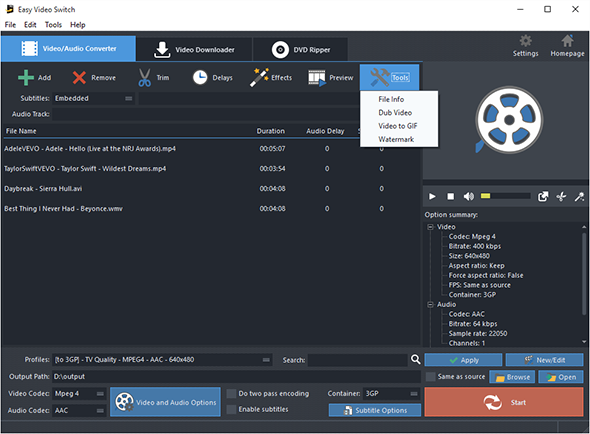
Click “Tools” button and you will find more functions that may come helpful: File Info, Dub Video, Video to GIF and Watermark.
